Made to order / Planning guide
Choose a Shower Door Layout for Your Space
Compare sliding, hinged and framed shower enclosure layouts using door movement, access, wall conditions and the needs of your custom project.
By AimeShower · Updated
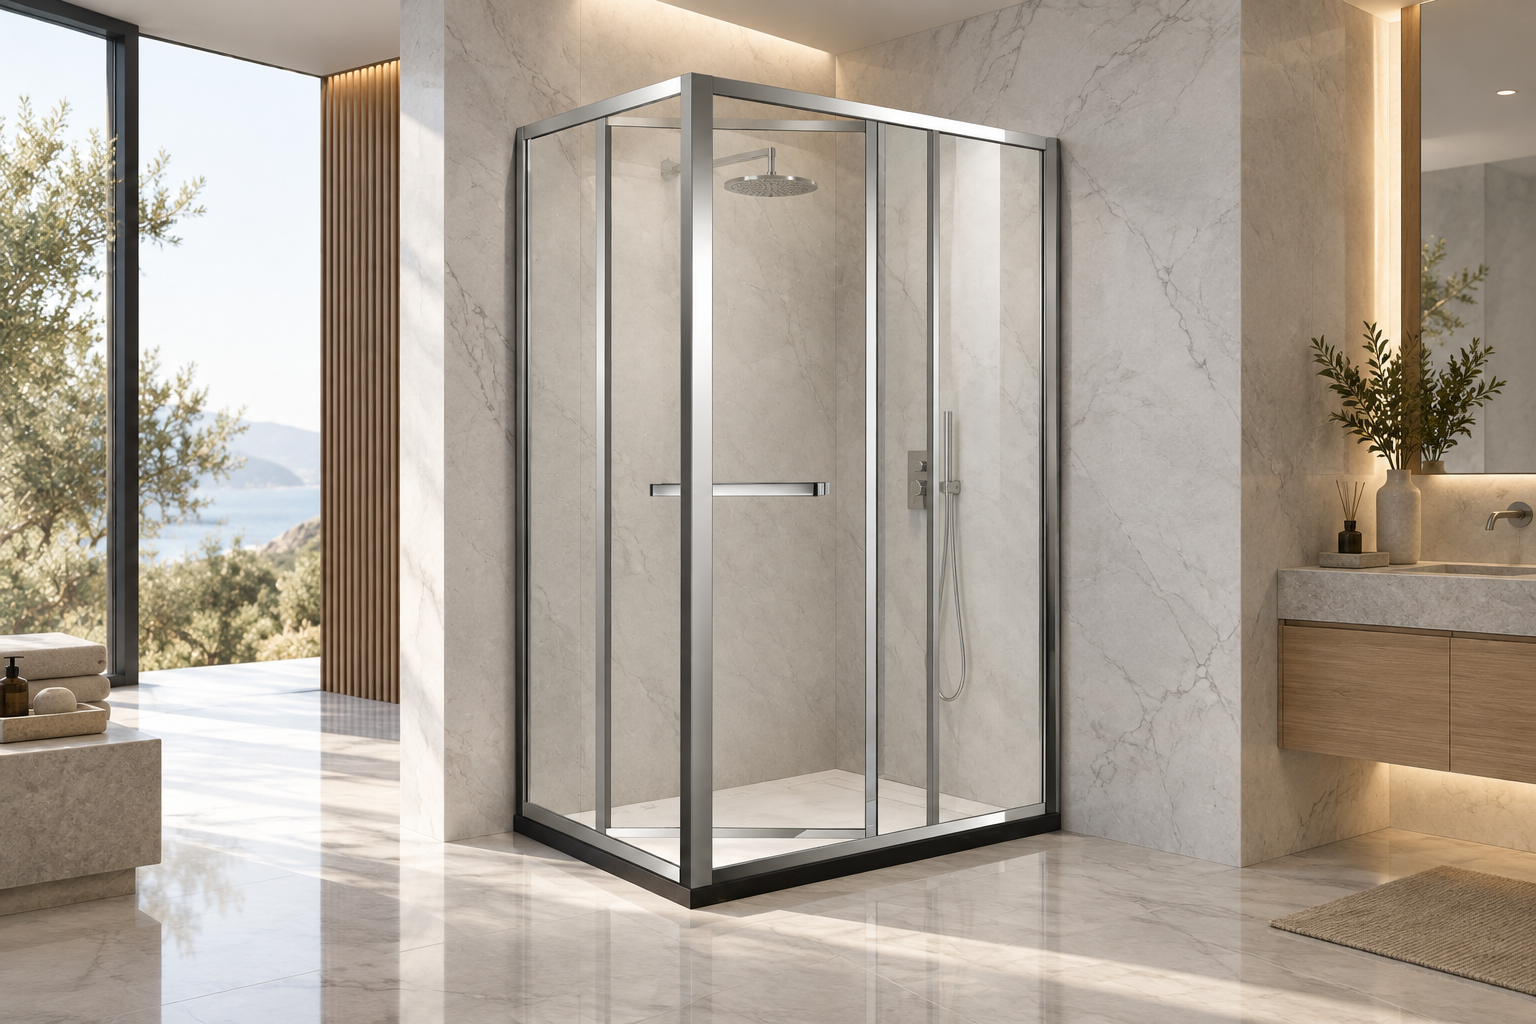
Compare movement before appearance.
A sliding door moves along its track; a hinged door needs space for its swing. Neither is automatically the best choice for a small bathroom. Start with the available opening, the intended entry route and nearby fixtures, then review the layout around those constraints.
Sliding layouts
Show where moving panels can travel and where fixed panels or overlapping panels will remain. The overall opening width is not the same as the usable entrance. Ask for clear access to be reviewed on the proposed layout instead of assuming a universal opening percentage.
Double-sliding, fixed-plus-sliding and multi-panel designs offer different ways to arrange movement. Track details, supports, threshold and cleaning access need to be considered with the actual floor, wall and glass configuration.
Hinged and pivot layouts
Mark the intended hinge side and direction of travel. Check the swing against basins, toilets, towel rails and the space needed to reach controls. The fixing substrate, panel size and hardware must be reviewed together.
If access is a project requirement, provide the required clear opening and applicable project criteria. A door style alone does not establish accessibility or compliance.
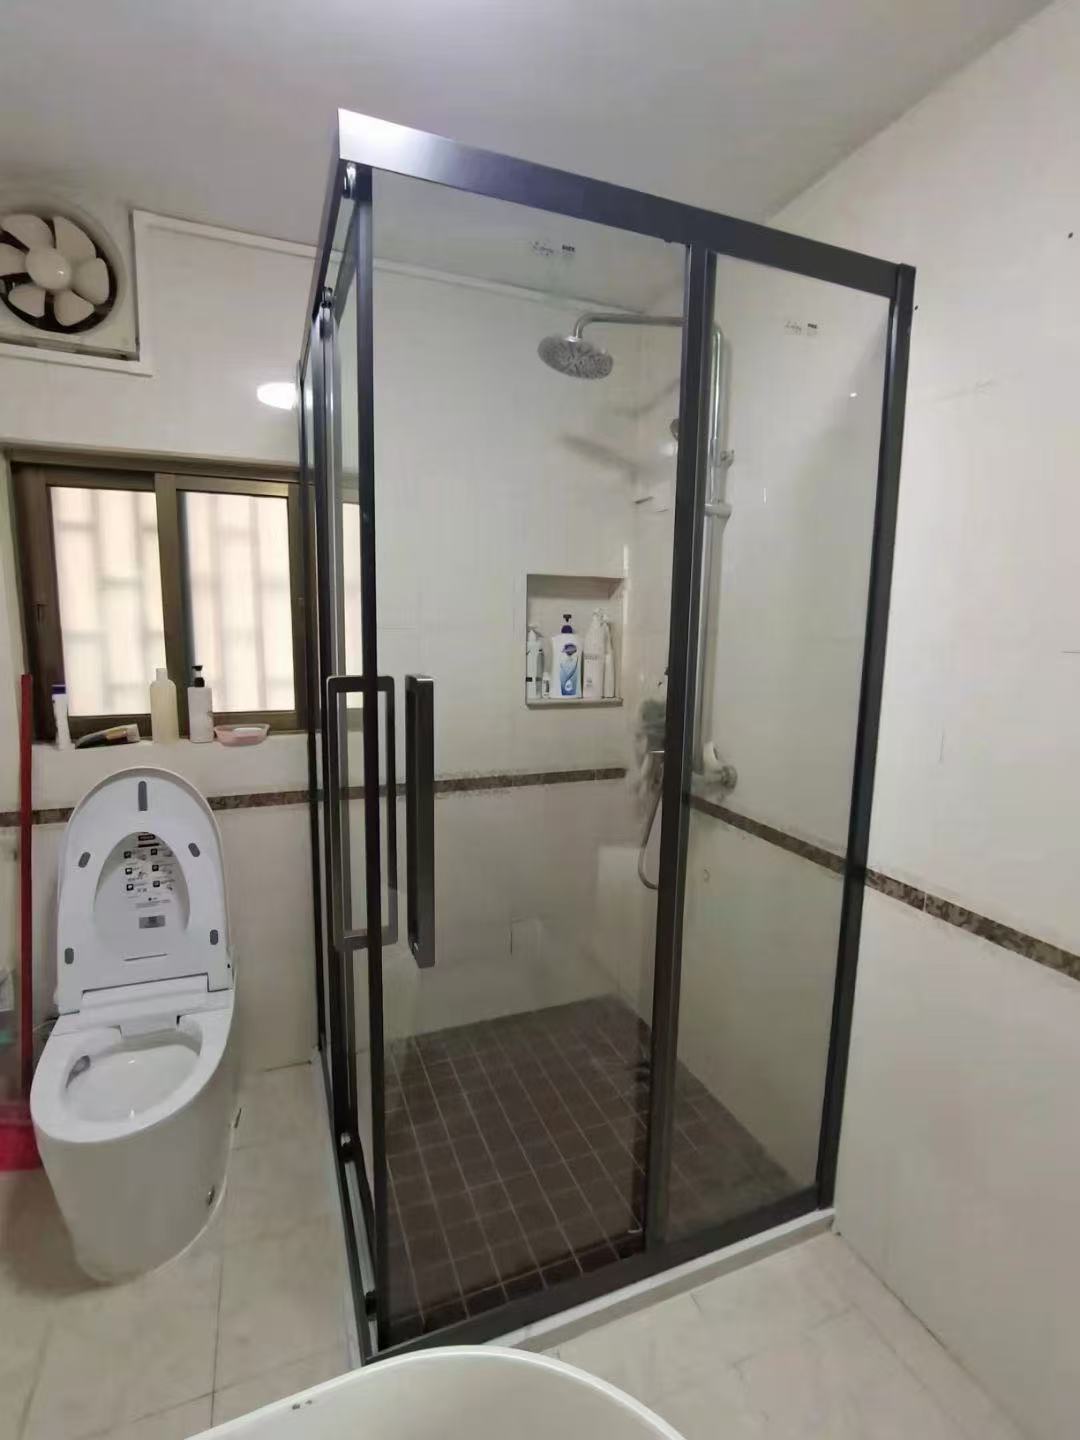
Framing is a separate choice.
Framed describes the support and visual treatment; sliding or hinged describes movement. A framed design can use different opening methods. Discuss the profile appearance, wall connections and glass selection as part of the same custom configuration.
Use a sketch to compare the options.
Draw the enclosure outline, moving panels, fixed panels and nearby fittings. Add dimensions and units, plus the destination market and expected quantity. Catalogue references can help explain the look you want, but final dimensions and components are project-specific.
Label the clear entry separately.
Clear entry is the passage available in the proposed open position. It is different from the overall enclosure width and from the width of an individual panel. Ask the project reviewer to identify that passage on the layout and compare it with the access requirement supplied by the buyer or site team; no universal opening percentage or accessibility approval is implied.
| Dimension | What to identify on the proposed layout |
|---|---|
| Overall enclosure width | The boundaries of the complete enclosure, with the measurement references labelled. |
| Panel width | The individual fixed or moving panel; its width alone does not state the usable entrance. |
| Clear entry width | The available passage in the intended open position, considering the proposed panel arrangement and nearby fittings. |