For Partners / Installation Support
Plan the installation conversation.
Share finished opening dimensions, wall construction, floor or tray details and preferred door movement. Each custom enclosure needs its own agreed dimensions and fixing approach, reviewed with the person responsible for installation.
References before installation.
Site information
Opening width and height, wall condition, tray or floor detail, access clearance and preferred door movement.
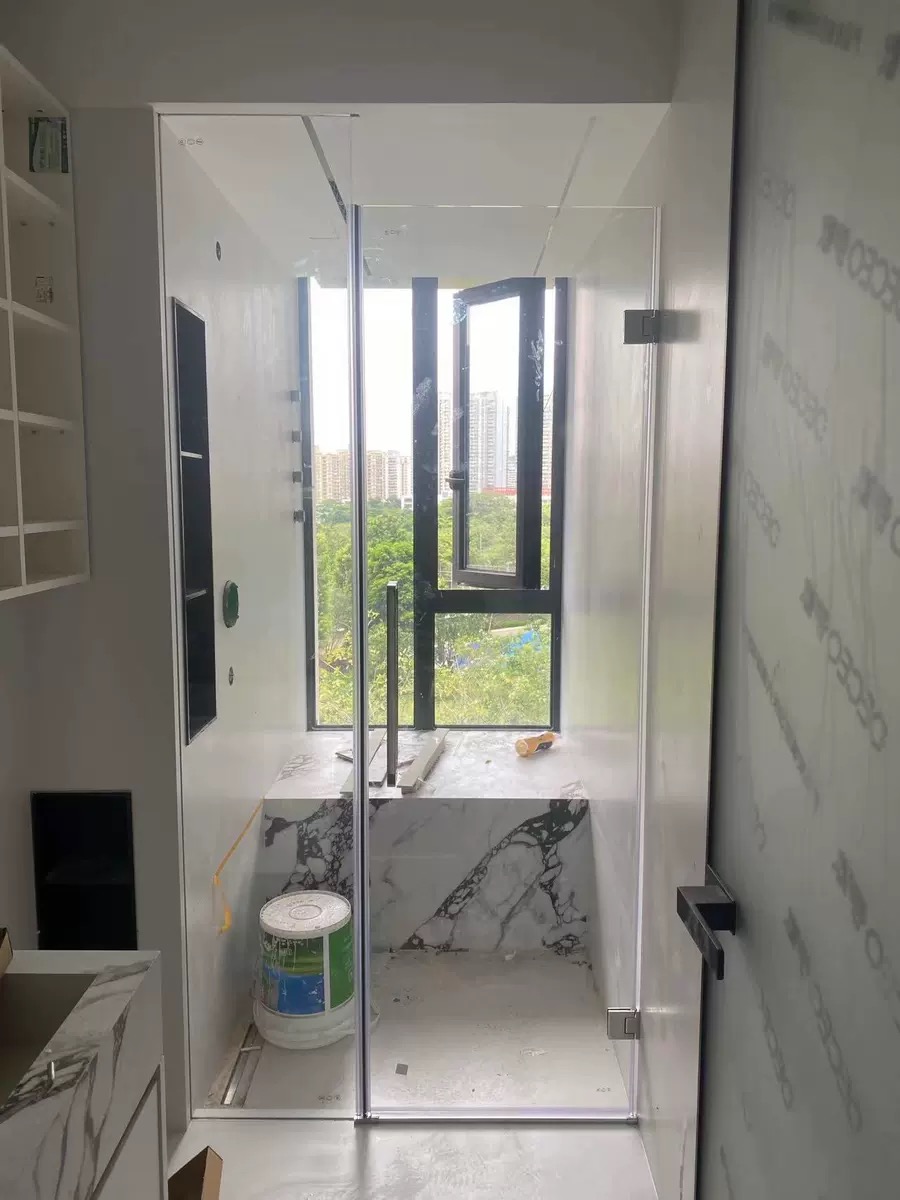
Installation drawings
Tell us which dimension and fixing details your installer needs. Drawing scope and formats are agreed for your custom configuration; catalogue images are not installation instructions.
Review topics
Coordinate the enclosure as one system.
Opening and wall condition
Identify whether measurements are finished or provisional, note uneven walls and confirm the fixing substrate with your installer before production.
Door movement and clearances
Review entry width, swing or sliding path, nearby fittings and maintenance access.
Hardware and water management
Coordinate profiles, hinges or rollers, handles, seals, magnetic closures and water bars.
Care and replacement
Ask for cleaning guidance and the proposed replacement-part path for the selected market.
Record wall alignment before drawing release.
Equal opening widths alone do not establish that the walls are plumb. Record each wall against a vertical reference and review the proposed configuration with its supporting documents.
What to confirm for out-of-plumb shower wallsTrace the water path before changing a seal.
A pool outside the door does not establish where water first crossed. Record the earliest observed crossing, relevant configuration and missing evidence before deciding which interface needs review.
How to document a shower door leak path